Showing posts with label random crafts. Show all posts

Sunday, March 16, 2014

Growing Carrots from DIY Seed Tape

I have tried and failed at times with growing carrots. Little seeds are tough to get a good start in really cloddy clay soil like we have had at times in our gardens.

One thing that worked was sprinkling a lot of seed on my patch where I wanted carrots and then covering the area with wet burlap bags. The bags kept the seeds damp and dark until they sprouted. Once they began to grow, you carefully pull the burlap back and leave the carrot seedlings to grow. Once up a few inches tall thin them to the desired space apart.

Planting carrots is easier for me now, because I put in raised beds a few years ago with the square foot gardening 'soil' in them. I get nice smooth planting surfaces now. So I adopted a method that doesn't use tons of seeds.  It works quite well.

I took a class by the local university Extension office about how to get kids interested in gardening. They taught us to use paper towels as a base for seeds for square foot gardens. It was awesome.

With carrots I went with toilet paper squares, but it is the same concept.

First, roll out a strip of toilet paper the length you need for where you are planting. I used three foot strips for the edges of my deep bed.

Using regular school glue - water soluble - put dots on your tp squares an inch in from each corner. Then I followed with a row halfway between the dots and all along the middle so that my dots were about 2 1/2 inches apart and staggered. I harvest my carrots quite small. If you raise big carrots, leave out the middle row.


Then while the glue is wet, carefully put a carrot seed into each glue dot. Let the glue dry and you have a seed tape.


To plant, smooth out an area the size of your tape in the garden, depressing it just a little. Put the seed tape in the depression and cover with an eighth to a quarter inch of soil. Keep well watered. Carrots are slow sprouters, so be patient. And keep them moist. Did I mention that? It is really important not to let them dry out.

Tuesday, March 4, 2014

DIY Wire and Bead Nest Necklaces


Well, I am ready for spring and it has felt like it for the past few weeks here. Warm days with every other day getting rain. It has been wonderful.

I planted tomatoes, peppers, and onions and they are in the kitchen window sprouting. At least, I hope they are. Spring really can't be too far off.

Well, here is a craft that you can do that also celebrates a symbol of the season - a nest with eggs. I taught my 10 and 11 year-old girls from church how to do these for Mother's Day last year. They are very simple. The girls wove in the number of bead 'eggs' that their mothers had kids. It was a fun activity and their mothers loved them.

Materials:


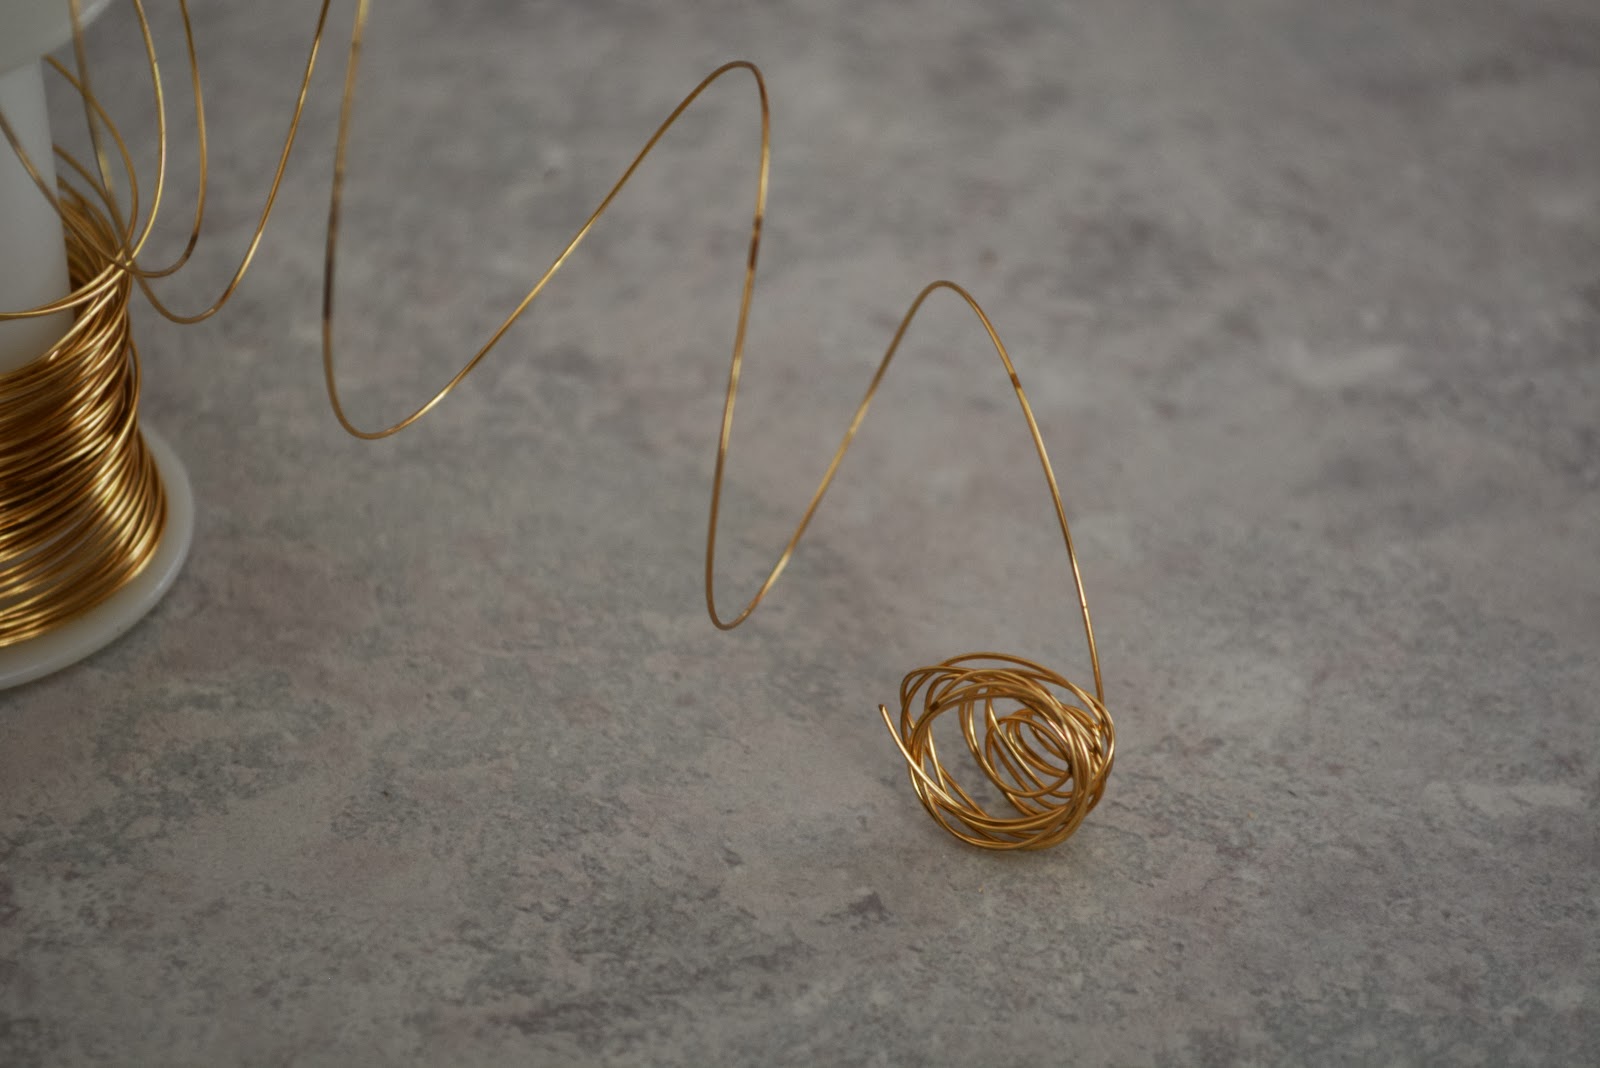
Light weight, flexible wire (20 gauge is what I used)
Egg shaped beads with holes big enough for your wire to go through (my beads were about twice the size of seed beads -1/4 inch or so)
Either leatherette stringing or a necklace chain 


There are a variety of wires to choose from.


These are beads and wire I used today.

 How to: 


Take the end of your wire and roll it loosely around the end of a finger. Take it off and twist the coil on one end like you are opening a lid. This will tighten the wires into a bottom for the nest. Roll and twist more wire around the nest until you like how full it is. Bend and shape and experiment.


Close the bottom of the coil by twisting it.

Cut off your wire leaving about 8 inches to work with while you 'sew' your eggs into the nest.
slide a bead down the wire and into the nest. Poke the wire through the bottom or side of the nest and pull the wire tight, adjusting the bead to fit into the nest as you do so.

Bring the wire around the edge of the nest and put on another bead. Stitch it into the nest as before. Continue until your nest is as full as you would like it to be.

Stitching in the eggs into the wire nest.
Finish the necklace by tucking the wire in and out several times and giving it a kink so that it will not loosen. Be careful to tuck the stray wire ends into the nest so that they don't poke a neck.

Pull out a wire on the back and thread leatherette cord or a necklace chain through.

Now wasn't that easy?


My finished necklace with my four eggs.

Thursday, February 27, 2014

I Love My Front Porch Chalkboard

This is mostly a picture post. I just wanted to show you how fun it can be to have a chalkboard on your front porch - with a table in front of it to fill with all kinds of stuff.

I find designs for the chalkboard online (usually with the help of pinterest). Then I redraw them and adapt them to what I like and need.

Sorry about the crop on this. I am learning. And I am a slow learner.

I added snowmen and snowballs and scarves and mittens to the table for January. The ten-year olds from my church class thought I was talented to be able to copy the bear. Ten-year olds are so easy to fool.


Here is the chalkboard with the whole table thing going on.

If I were to give tips on how to write on a chalkboard they would be these:


  • Draw up your design on a piece of paper - or print what you want from the internet.
  • Draw on guidelines using a straight edge first - very lightly. Remember the blue striped paper from elementary school? Do those lines. Remember you will have ascenders and descenders on letters like y and g and l and b. Leave room for them. 
  • Count how many letters and spaces in each line of letters. Start in the middle and work both directions if you want something centered. (example: willy nilly = 11 letters and spaces. The middle of the chalkboard, then, would have the space straddling it and I would write nilly normally out from the gap. Then I would write ylliw, in that order, writing from right to left leaving that center gap. Make sense?
  • Write the words and drawings lightly at first. Start first with just writing them in normal handwriting. Then fill out the shape of the typography. (For instance, I first wrote D  A  Y in big block letters with lots of room between the letters. Then I filled out the larger shape of the serifs and bodies of the letters to DAY.)
  • Use a damp cloth to erase what you don't love while it is still lightly drawn on.
  • Get your chalk lightly wet and darken your lines and fill in the shapes. It will not look heavy as you use wet chalk but it will dry bright. Honest. And it will stay put better than dry chalk.
  • Most important - remember that this is just an exercise in fun and whimsy. Enjoy it and its imperfections. It doesn't have to be perfect. In fact, if it is perfect you might as well just print it out on a computer. And that would just not be right.

Wednesday, February 26, 2014

Doesn't Take Much to Brighten a Corner

Well, now we start to get to the really embarrassing posts. The ones where I show you how we actually live. Sigh*

We finally finished most of the basement a few years ago. The hub did an amazing job on the walls and built-in bookshelf under the stairs. The kids helped paint, put in a wood floor, baseboard and trim, and it was looking great.

And it hasn't changed much since. I am a lazy bum.

Here is a photo of a lonely corner down there. It is attached to a wall we leave intentionally bare so we can watch movies on it, but I had no excuse for leaving this one bare for so long.

So I gathered up some interesting things I had around: a game board a good friend made for me, a game board my hub made, and a couple of stick tic-tac-toe boards and their rocks. I placed them carefully and artfully along the oak shelf (well, I just leaned them up - centered) and then put in one nail to hold a print of a painting that my Grandma did of my Grandpa for their engagement.

Took about ten minutes.

Boy, it is hard to find the time to decorate a house these days . . .


The kids may be a little careful about what movies they choose to watch now too. With Grandpa looking at them like that.

Friday, February 21, 2014

I Am the Gardener Here - Sticks and Stones Crafts

Well, it is the February thaw. Time to prune the fruit trees and roses. I love doing it. It makes me happy. And why not? I am outside, working with my hands, using my brain, and thinking about the promise of spring and harvest of sweet, juicy fruit and beautiful, fragrant flowers.

With every clip of the shears I repeat, "I am the gardener here," in my head. That quote comes from an analogy by Hugh B Brown. He was pruning a very overgrown currant bush and it seemed to cry and talk to him as he cut it back. It was an experience which helped him handle disappointment ten years later. Here is a wonderful youtube video of the story - music by Jon Schmidt. It is awesome and well done.

Hugh B Brown - I am the Gardener Here Audio/video

Hugh B Brown - I am the Gardener Here  text only

Nice, distraction, huh? But on with the post.

I have a hard time just trashing or even composting all those perfect sticks that I so carefully cut off. Maybe my currant bush could live on in another form, too, before it is composted? Yes, I think so.

Here are a couple of projects to use some of those sweet sticks. And maybe when you see your stick projects in your house you can hear "I know what I want you to be" in your head. Or maybe not.

Tic-Tac-Toe Boards for the Patio
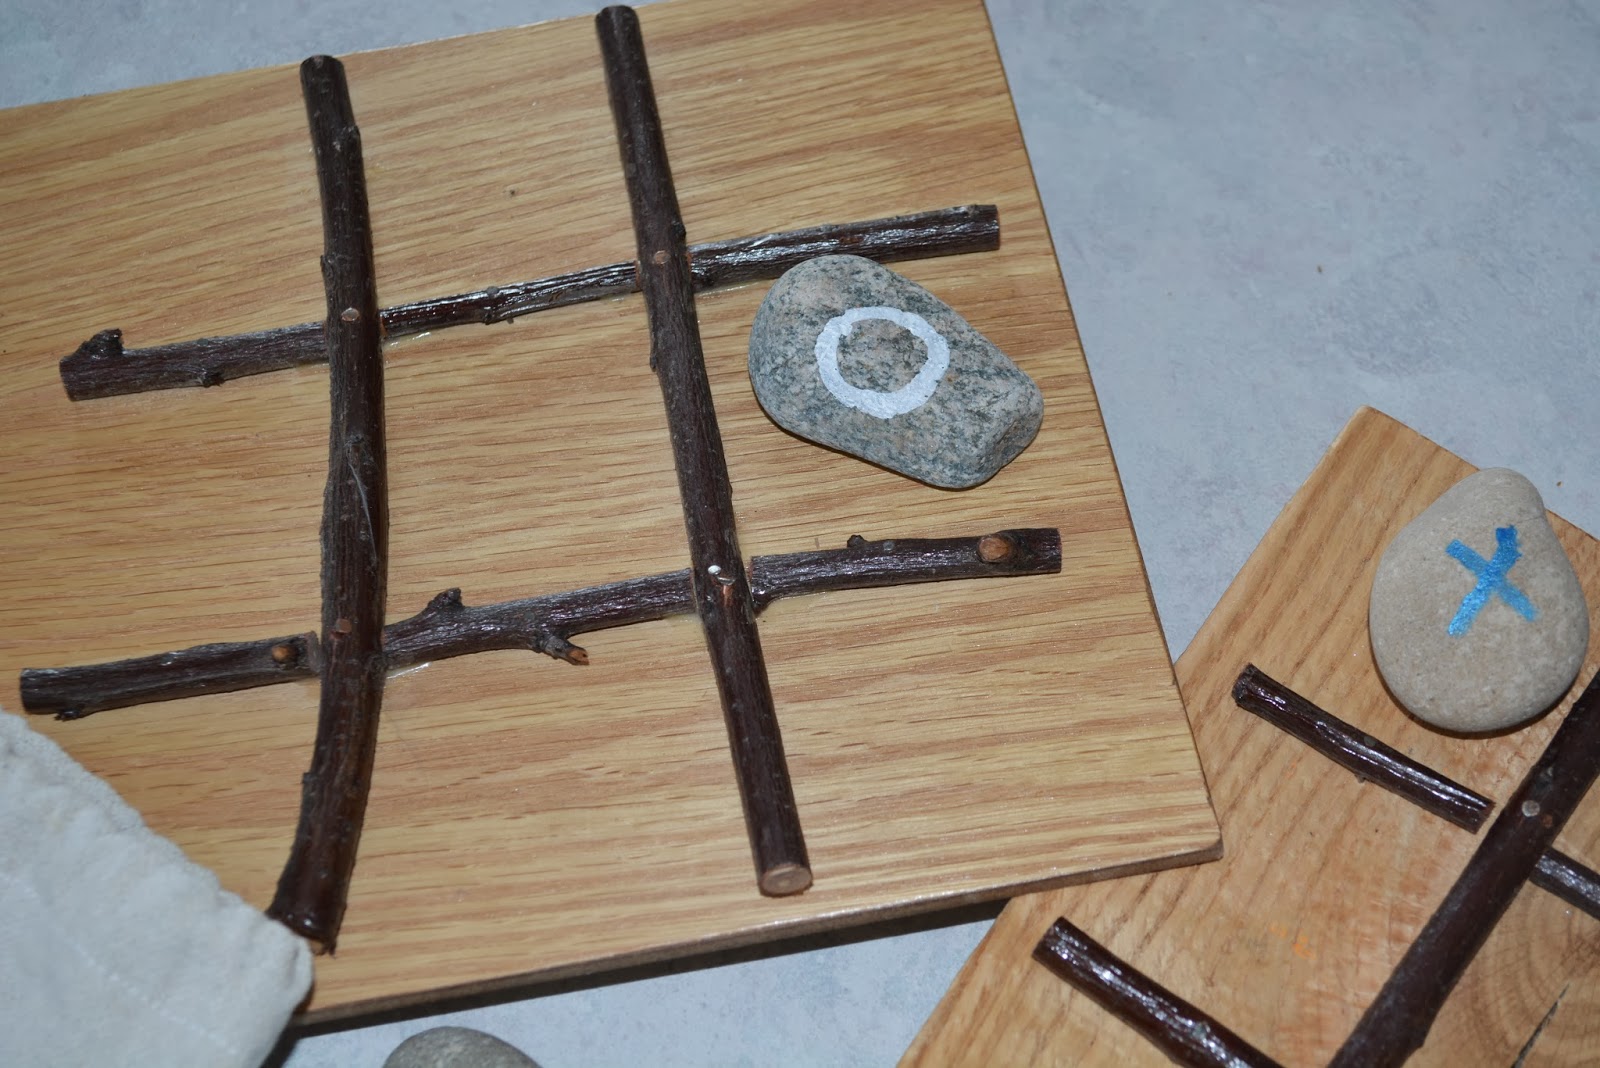
 
 I first made these tic-tac-toe games for a wedding reception that was held at a local park. We made lots of yard games that we spread around the venue.

Materials -


Bases: Find some old board ends that are fairly thick and in decent shape (very weathered wood won't hold a nail - find something solid). Mine were a piece of 3/4" pine and a rough-sawn 1" red oak scrap from the hub's furniture cutoffs. They were 7 inches square and 8 inches square.

Sticks: The sticks I used were well dried (not just pruned or they will shrink and twist) sand cherry sticks. Try to choose very straight and flat sticks.

Brads: 1" to 1 1/4" brad nails (Use the longest ones you can without going through the back of the base board)

Waterproof glue

10  one to two inch River rocks

Acrylic paint (outdoor formulation would be best for outdoor use)

Bases: Layout two sticks from top to bottom on a square, wood base. Cut the sticks 1" smaller than the board. Position the sticks 1/3 of the base in on one side and 1/3 of the base in on the other side, centering top to bottom . (You are making the down lines on a tic-tac-toe grid; you know how to do this.) Put some glue on the back of one of the sticks and put it, glue side down, onto the base. Then nail it down with two brads - one, 1/3 of the stick up from the bottom and the other, 1/3 down from the top. ( _._._ ) Repeat with the other stick.

Now piece by piece, fit and cut six stick pieces to the grid to make a #, gluing and nailing as you go. Cut the pieces to fit tightly to the other sticks and keep your outer border on the base empty (leave space on the edges). While the glue dries, make the markers with the river rock.

Because we were taking these to a park, I made little bags out of leftover painter's canvas so we wouldn't lose the rocks.

Markers: Paint an O on five rocks in one color. Paint an X on the other five. Let dry.

When the boards are dry, paint with several coats of outdoor polyurethane making sure to get it smooshed into the nooks and crannies. Poly will brighten the stones too, if you like (I did not).

You could paint different things on the rocks to go with different themes for parties - hearts, or crowns, or initials, or animals, or leaves . . .

Rustic Pedestal Candle Holders

These candle holders use your bigger limbs.

These were from the cherry tree, which loves to grow taller than I want it to. My limbs were 2 1/2 inches across (largest holder) and 2 inches across (smaller, taller holders).

Simply cut varied lengths of limb on straight angles. I cut mine to: 3", 6" and 9".

Next, clamp your wood piece tightly down to something. Use a 3/4" spade bit on a drill to bore a half-inch deep hole into the top of the piece, centering it.


Have fun pruning - both real and figuratively.


Wednesday, February 19, 2014

Really Easy and Cute DIY Leather Flowers

Always seems to happen. I get the shopping and making of gifts done by the first of December and then I think, "Oh, I could make this little thing or that little thing." And suddenly my kitchen table and counter top are taken over by these little last-minute projects for the next week or so.

The table and kitchen in late December 2013
Well, this is one of those late 2013 projects. They really are cute, quick, and easy.

I made these Leather Flowers as pins and attached them to handmade elastic headbands for the 10 and 11 year-old girls that I teach in church. I (and my oldest daughter) also made some other fabric and ribbon flowers at the same time which I may show you how to make in a future post. I gave each girl a hairband and four varied, but 'matchy' flowers to pin onto the hairband, or to a cardigan, or to close up a scarf.


To make them, you will need:
  • scraps of leather (I had some from covering our kitchen chairs, but you can buy small leather pieces at leather goods stores or craft stores)
  • metal brads (brads come in lots of colors and shapes, too)
  • pin backs
  • glue (hot glue or e-6000 work well)
Also, scissors and a hole punch or awl.


Start by printing the pdf of the flower pattern. I included 3 different kinds of flowers on the pattern. Or you can just cut without a pattern, which is what I did. I like the randomness of freehand. (Of course, I do!)   

A link to a pdf pattern is here (but, really, you can just freehand this!)

leather flower pattern

Then cut three sizes of leather flowers from the scrap leather. Punch holes with the awl or leather punch tool in the center of each flower.

I wanted my flowers to be a little more 3 dimensional than they were looking, so I got them moderately wet, scrunched them up in my hands and then put them in the dryer for about 15 minutes on high heat. I got them out while they were still hot and scrunched some more until they cooled. You can do this step, or not.

At right, 3 cut out flowers with holes punched. Middle, flower with  a brad and right, flower with glued on pinback.

Put the flowers together any way you like - with the suede side up or smooth side up or a combination, lining up the holes in the centers.

Slip the shaft of a brad through the holes from the top to the back. Then open the two prongs out tightly against the back of the flower.

Finally, glue on a pin back over the ends of the closed brad. Let the glue set.

See. It really was quick and easy.